Multiplication Table Poster for the Classroom: How to Make and Use One
Make a classroom multiplication poster from free printable charts, decide where to hang it, and use quick daily routines that move students toward recall.
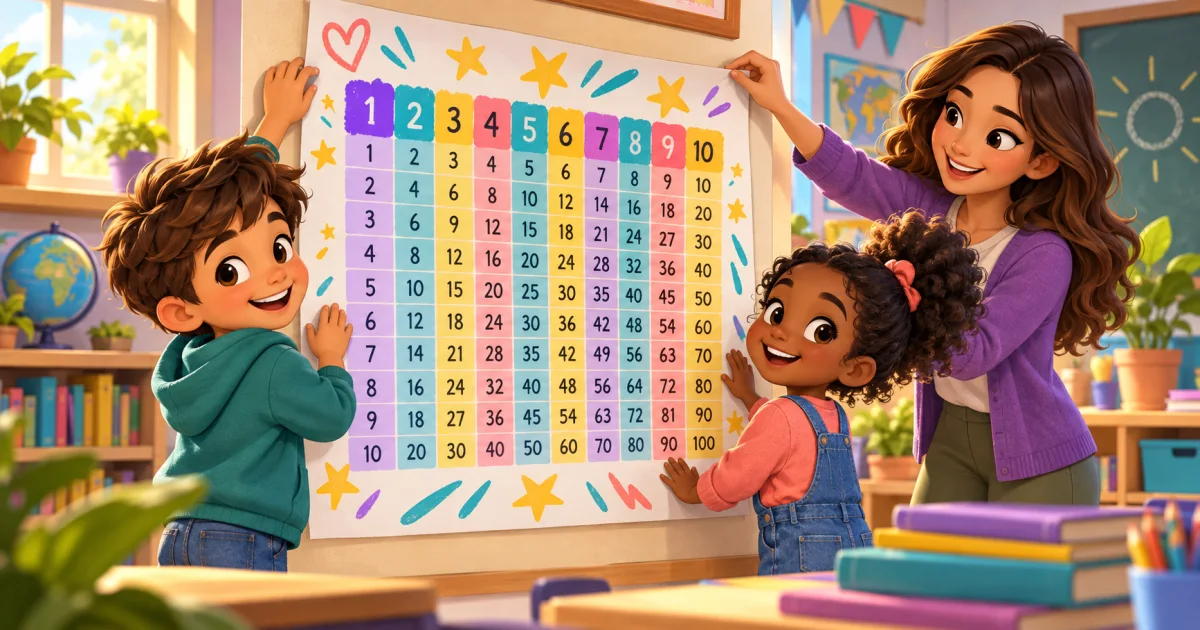
Print, check and practice
Start with a worksheet and its answer key, or follow the five-day pack. Both are free and available in Letter and A4.
A multiplication table poster is one of the simplest tools in a primary classroom: a 12×12 chart on the wall that every student can check while they work. Used well, it is a reference students look at less and less as the facts stick. Used badly, it is wallpaper nobody notices. This guide covers how to put a poster together from free printable charts, where to hang it, and the short routines that turn it into practice.
What You'll Learn
- How to make a classroom poster from free printable A4 or Letter charts
- Where to display the chart so students actually use it
- Quick daily routines built around the poster
- How to move students from looking facts up to recalling them
Making the Poster
Start with a Printable Chart
You do not need a print shop to make a classroom poster. Our printable multiplication charts come in A4 and Letter, in black and seven colors, and in several versions:
- Filled: every product from 1×1 to 12×12, the version most classrooms hang as their main reference
- Blank: an empty grid students complete themselves
- Partly filled: some products given, the rest left for students to work out
- Mixed: an empty grid with the row and column numbers in scrambled order, so students cannot fill it by counting along
If you prefer lists of equations to a grid, the printable multiplication tables show every table from 1 to 12 written out (7 × 1 = 7, 7 × 2 = 14, and so on), six tables to a page. Cut them apart and you have twelve small posters for a row along the wall.
Going Bigger
A single A4 or Letter chart is readable from a few meters away. For a wall display that the back row can read, you have a few options:
- Enlarge on a copier: most school copiers can scale an A4 page up to A3 (or Letter up to Tabloid)
- Tile print: print the chart at a larger scale across several sheets and join them on card
- Cut out the tables: hang the twelve individual tables side by side instead of one large chart
Mounting the sheets on card, or laminating them, keeps corners from curling and lets you write on the chart with a dry-erase marker.
Related: printable multiplication chart guide
Color or Black and White
Both work. Color makes it easier to point at a row or talk about "the blue row," and a colored chart is more pleasant to look at every day. A black chart photocopies cleanly and costs less to print for a whole class. Many teachers hang a colored chart on the wall and hand out black copies for desks.
Related: color multiplication chart guide
Where to Display It
The Main Chart
Hang the main chart near where you teach, at a height students can read while seated, with space around it. A chart surrounded by other posters is harder to find at a glance. Keep it in the same place all year so students know where to look without thinking.
A Math Station Copy
A second, smaller chart at a math table or station lets students study it up close: tracing rows and columns, spotting patterns, and checking work during small-group time without crossing the room.
Desk and Notebook Copies
A personal chart taped inside a notebook cover or kept in a plastic sleeve saves students from waiting for help with a fact they could look up. It also makes it easy to see who is still relying on the chart and who has stopped needing it.
Daily Routines with the Poster
Fact of the Day
Circle one fact on the laminated chart each morning. Refer to it during the day and ask for it at the end of the day, then pick a new one. It takes a minute and keeps attention on facts students are still learning.
Pattern Hunt
Give students ten minutes with the chart and ask them to find patterns. They usually spot a lot:
- Every product in the 2s, 4s, 6s, 8s, 10s and 12s rows is even
- The 5s row ends in 5 or 0, and the 10s row always ends in 0
- The chart is symmetrical along the diagonal because 3 × 7 and 7 × 3 give the same product
- The diagonal holds the square numbers: 1, 4, 9, 16, 25 and so on
- In the 9s row, the digits of each product up to 9 × 10 add up to 9
Record the patterns students find next to the chart. Each one is a strategy they can use when they get stuck.
Related: multiplication patterns
Point and Say
Call out a fact such as "6 times 8." A student finds the 6 row and the 8 column, traces them to where they meet and reads the product. Then swap: call out a product such as 24 and ask for every fact on the chart that makes it (3 × 8, 4 × 6, 6 × 4, 8 × 3, and 2 × 12 and 12 × 2).
Exit Ticket Facts
As students line up, ask each one a quick fact. They answer from memory if they can and check the poster if they cannot. It is low-stakes practice several times a day, and you quickly see which facts the class still finds hard.
Chart Challenges
Short questions that make students read the chart as a whole:
- Find every product between 20 and 30
- Which products appear only once on the chart?
- How many times does 12 appear?
- Why are there no odd numbers in the 4s row?
Related: multiplication games for kids
From Looking Up to Remembering
A chart is a support, not the goal. Students who check it constantly for weeks without starting to recall facts need more than a poster, so plan how its role changes over the unit:
- Introduce it explicitly: show how to find a fact by row and column, and practice it together
- Use it freely at first: while students are learning a table, checking the chart is fine
- Recall first, then check: ask students to answer from memory and use the chart only to confirm
- Practice without it: short quizzes and games without the chart show which facts are secure
Blank charts help at the later stages. A student who can fill in an empty grid from memory knows the facts; the gaps show which ones need more work.
Related: blank multiplication chart
Frequently Asked Questions
Yes, for most classes. Students use it for review, for division and fractions work later in the year, and for checking answers. The aim is for them to need it less over time, not for it to disappear.
Big enough for students to read from their seats. An A4 or Letter chart works on a desk or at a math station; for a wall chart, enlarge it on a copier, tile it across several sheets, or hang the individual tables side by side.
Some will at first, and that is fine while they are learning. Move to "answer first, then check," and use quizzes and games without the chart so students practice recall.
Laminating, or a plastic sleeve for smaller copies, makes the chart last longer and lets you circle facts with a dry-erase marker.
A projected chart is useful while you teach, but a printed chart stays visible when the board shows something else. Many teachers use both.
Summary
A multiplication table poster costs almost nothing to make: print a chart in A4 or Letter, enlarge or tile it if you need it bigger, and hang it where students can see it from their seats. Give each student a desk copy, add a few one-minute routines such as a fact of the day or a pattern hunt, and move students step by step from looking facts up to recalling them.
Related: printable multiplication charts